

-
Welcome to 4Runners.com!
You are currently viewing as a guest! To get full-access, you need to register for a FREE account.
As a registered member, you’ll be able to:- Participate in all 4Runner discussion topics
- Transfer over your build thread from a different forum to this one
- Communicate privately with other 4Runner owners from around the world
- Post your own photos in our Members Gallery
- Access all special features of the site
 Tie Rods and Wheel Bearings 4th gen
 Quad fog lights in OEM bumper
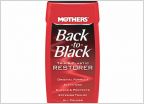 BEST trim restore
 Brake Job Help Plz!!
 Opinions needed on a potential purchase
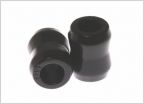 Lift kit help?
Burning through CV boots
Discussion in '4th Gen 4Runners (2003-2009)' started by Bmxer06pa, Sep 14, 2023.
Page 1 of 2
Page 1 of 2


