

-
Welcome to 4Runners.com!
You are currently viewing as a guest! To get full-access, you need to register for a FREE account.
As a registered member, you’ll be able to:- Participate in all 4Runner discussion topics
- Transfer over your build thread from a different forum to this one
- Communicate privately with other 4Runner owners from around the world
- Post your own photos in our Members Gallery
- Access all special features of the site
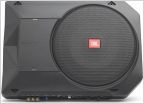 Very satisfied with JBL BassPro + NVX VSP65s
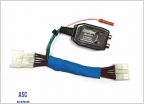 What's needed to hook up amp/sub to head unit?
 4runner 2018 limited: JBL Right hand Dash tweeter replacement.
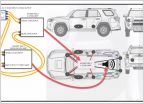 Trail Grid Pro Kicker 8 speaker bundle
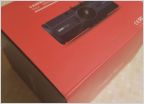 Dash cameras...
2023 Limited JBL Amp swap build
Discussion in 'Audio & Video' started by tk421, Mar 23, 2025 at 8:23 AM.

