

-
Welcome to 4Runners.com!
You are currently viewing as a guest! To get full-access, you need to register for a FREE account.
As a registered member, you’ll be able to:- Participate in all 4Runner discussion topics
- Transfer over your build thread from a different forum to this one
- Communicate privately with other 4Runner owners from around the world
- Post your own photos in our Members Gallery
- Access all special features of the site
 Hoping someone can figure out what this issue is
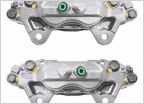 Stuck brake caliper...
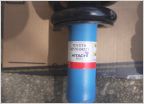 Wiil These Work
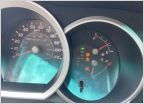
 2008 4Runner Electrical Issues
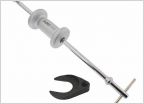 Stuck CV axle shaft, need some help
 Having trouble replacing stock horns with FIAMM Low tone and High tone horns
The OFFICIAL manual swap thread
Discussion in '4th Gen 4Runners (2003-2009)' started by Jakobies1086, Jun 7, 2024.

